As a student, you may copy diagrams and other stuff when doing assignments. Being a scholar, you may reference articles or do some translations. In these scenarios, only noneditable PDFs on hand are really doing your head in, so a free PDF to Word converter software program is absolutely necessitated.
There is a wide variety of PDF to Word converter software for your choice. It seems pretty good, right? However, most of them are prohibitively expensive and not all pages could be converted for free trial.
But All PDF Converter Pro can convert all pages of a PDF ten times for free. It is also affordable to purchase its pro version to enjoy its premium features.
In this article, I will show you how to use this free software to convert PDF to Word with 3 steps. Below is the detailed tutorial.
Step 1. Download and Install All PDF Converter Pro.
Click on the “Free Download” button below to download All PDF Converter Pro on your Windows computer. It’s fully compatible with Windows 7/8/10.
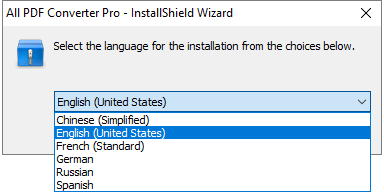
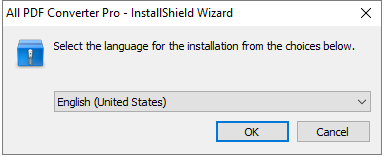
Begin by running the installer and then a setup language dialog pops up. You can choose the language of interest in the pull-down menu. Click on “OK” to continue until a setup path dialog appears.
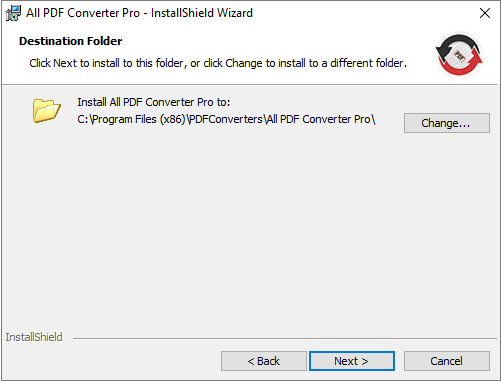
If the default setup path is OK, move on by clicking on “Next”. If you want a custom path, click on “Change” to specify installation location.
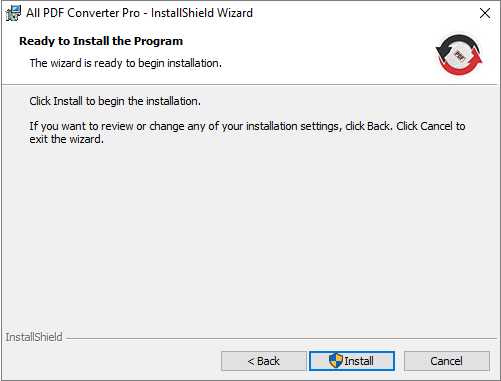
Two seconds later, you’ll come to the ready-to-install step. Click on “Install” to finish the installation. To review or change any installation settings, click on “Back”.
Step 2. Launch Program & Import PDF into Converter.
Double-click on the short-cut icon to launch the program.
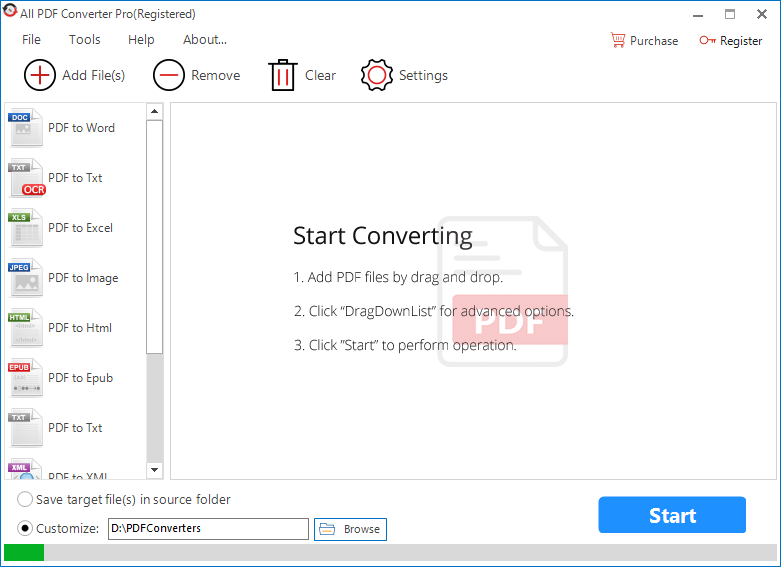
There are two ways to import PDF into the PDF converter software.
Way 1. Click on “Add File(s)”, choose files relying on the browse dialog. Then, click on “Open” to end the process.
![]()
Tip: You can import a single file or multiple files in batch by “Ctrl” plus left mouse button.
Way 2. Include PDF files through a drag-n-drop operation.
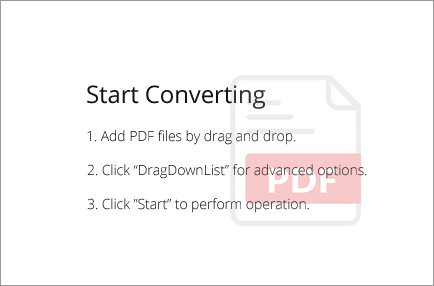
Tip: You can import a single file or files as many as you may need by this way.
Once added, files will be enlisted in the main window.
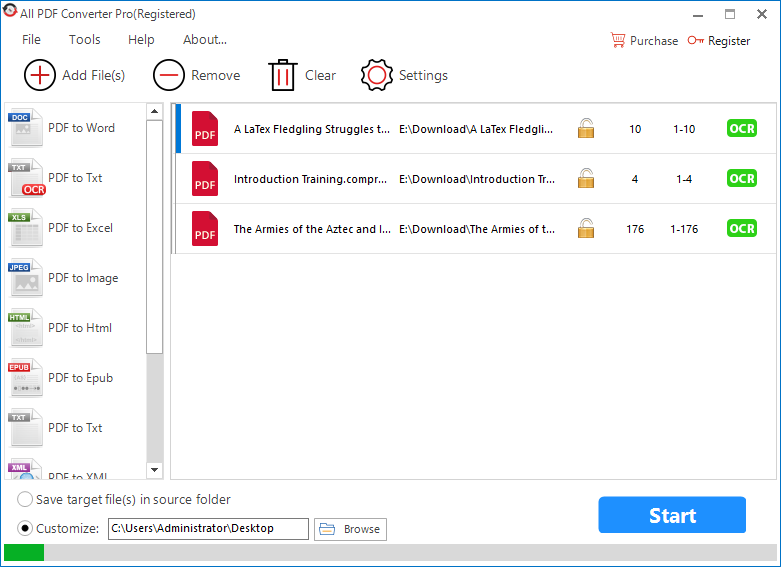
Step 3. Configure Settings & Convert PDF to MS Word.
Choose Output Format.
Click on “PDF to Word” on the left side panel to choose Word as output format.

Specify Page Range
Right-click on the listed PDF and a context menu pops up.
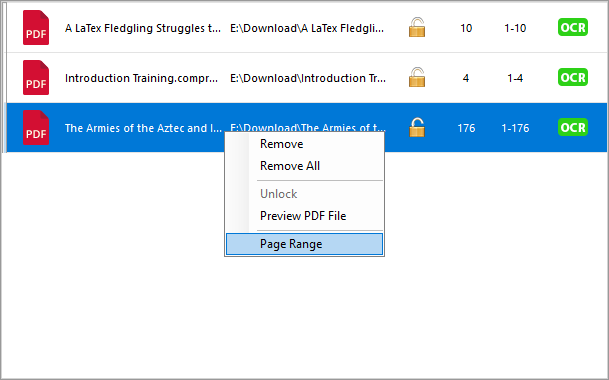
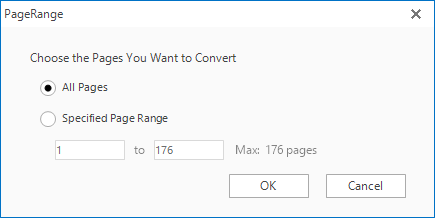
Click on “PageRange” in the context menu and a page range dialog pops up.
To convert all pages, select “All Pages” radio button.
To convert specified pages, select “Specified Page Range” radio button and then customize the range by entering the page number.
Click on “OK” to apply the setting.
Select Output File Extension.
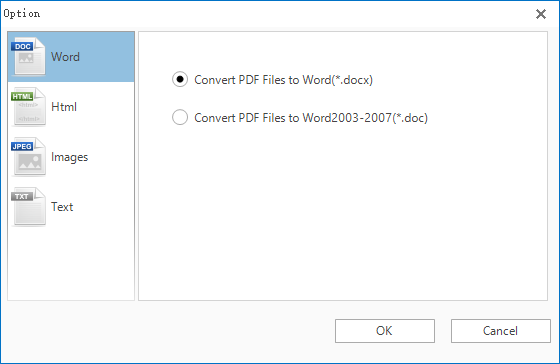
Click on “Settings” at the bottom section of the program and the “Option” dialog pops up.

Choose “Word” at the left side panel.
Select “Convert PDF Files to Word (*.docx)” or “Convert PDF Files to Word2003-2007 (*doc)” to determine DOCX or DOC as output file extension.
Click on “OK” to apply the setting.

Set Output Directory.
By selecting “Same as Resource” button, you can find output files in the same folder as the source files.
You can also specify a new output location by entering output path or using the browse dialog.

Start Conversion
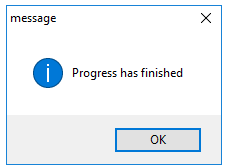
When settings are all ready, click on “Start” to perform the conversion. It will be finished in a moment and end with a prompt dialog “Progress has finished”.

This article mainly shows you the tutorial about how to use All PDF Converter Pro to convert PDF to Word. This free PDF to Word Converter software will reduce your time spent using other complicated methods to edit PDFs and help you quickly get an editable Word document with PDF’s original formats preserved.
