Usually, the display language of your Windows operation system is your local language, for example it would be English if you purchase your PC in a English-speaking country. So is there any solution for you to change the display languages? Of course, the latest Windows versions support more than 30+ languages. You can choose anyone of them as your display language.
This article will demonstrate how to change your display language. It is showed in Win 7 Ultimate in this guidance. But it will be available in all versions of WinXP/Win7/Win8/Win10.
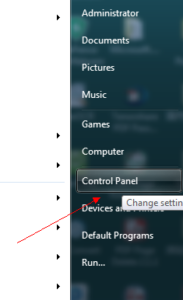
Step 1: Click Start button and choose your Control Panel.
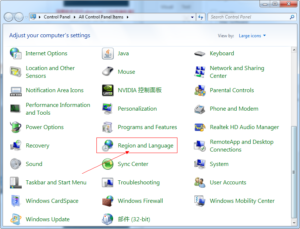
Step 2: Find “Region and Language” option in your Control Panel interface. Click it to open the window.
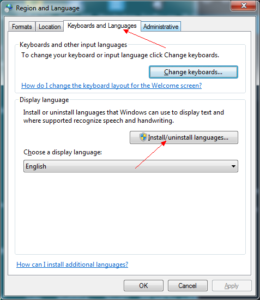
Step3: Choose and active the “Keyboards and Languages” tab. Then click the “Install/uninstall languages” button. Usually, only your native language package has been installed. You should select and install other language packages you wish to use.
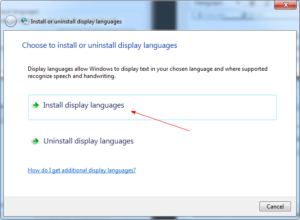
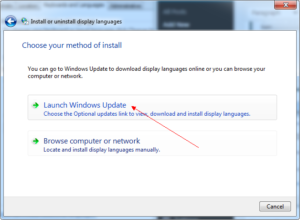
Step 4: Before select your language packages, you should launch your Windows update first. Windows Update Tool will check your updates for your computer and download all of the language packages Window support.
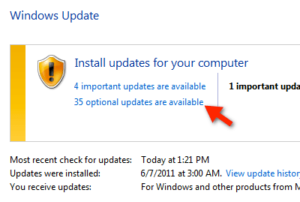
Step 5: After the updates checking finished, you can find the optional updates and click it to find all of the language packages you can use.
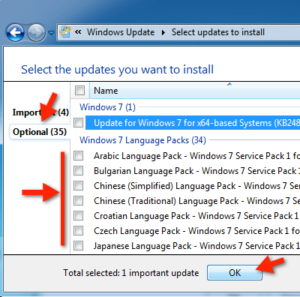
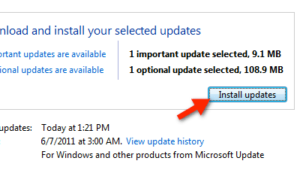
Step 6: Check the language pack you want to use and click OK button. You can start the install process by clicking the “Install updates” button.
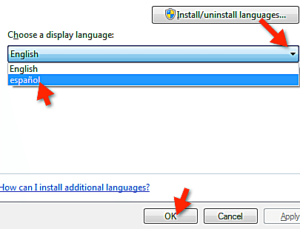
Step 7: When the process finished and return back to “Keyboards and Languages”, you will find new language pack you have installed shows in the drop-down button. Choose the language and click “OK” button to save the changes.
Then, system will inform you that the you should log off to active your new settings. Log off and log in back, you will find the new language has become active.
